Summer has officially left, but don’t let fall get you down! One of our favorite summer trends is a flower crown. It is not only stunning, but it adds the perfect feminine touch to a baby shower look or photoshoot. But what about fall? We asked ourselves that question and we came up with the perfect summer extender! This fall flower crown tutorial is simple and easy. Check it out below and tag us with your creations. Good luck ladies!
XOXO,
PinkBlush Team
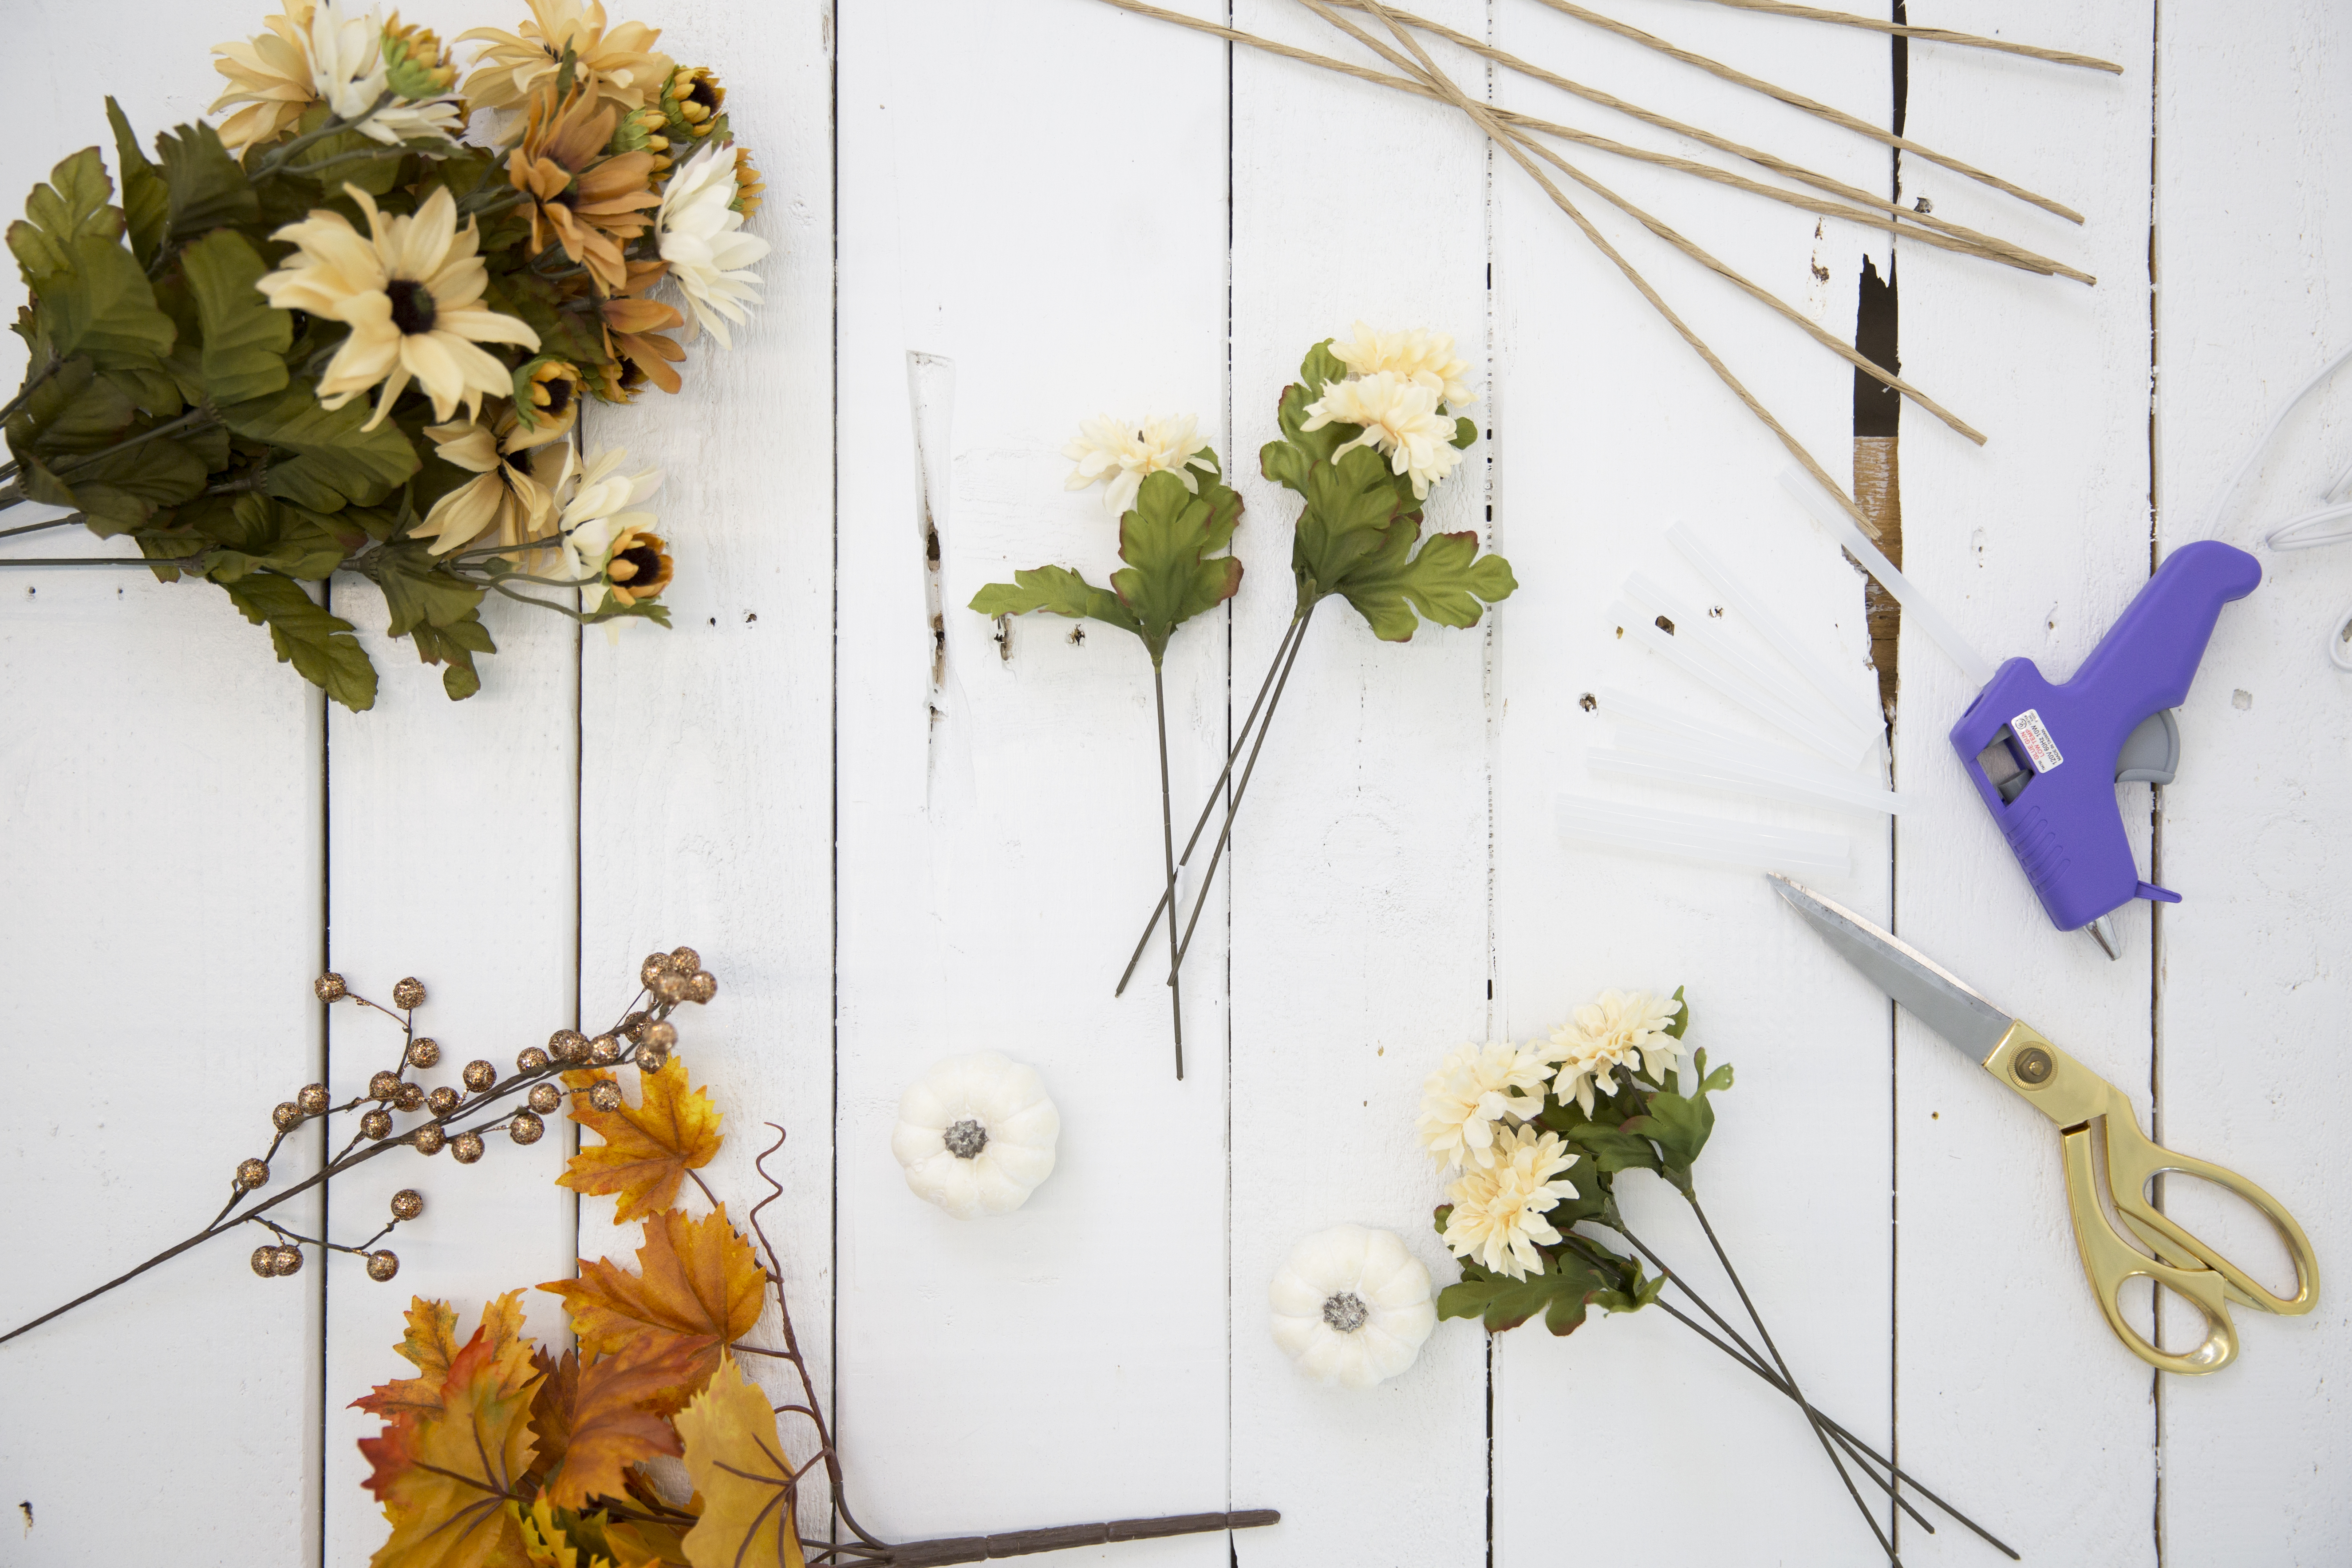
Step 1: Supplies
- Fall flowers and leaves
- Twine wire or any floral wiring with tape that will keep its shape
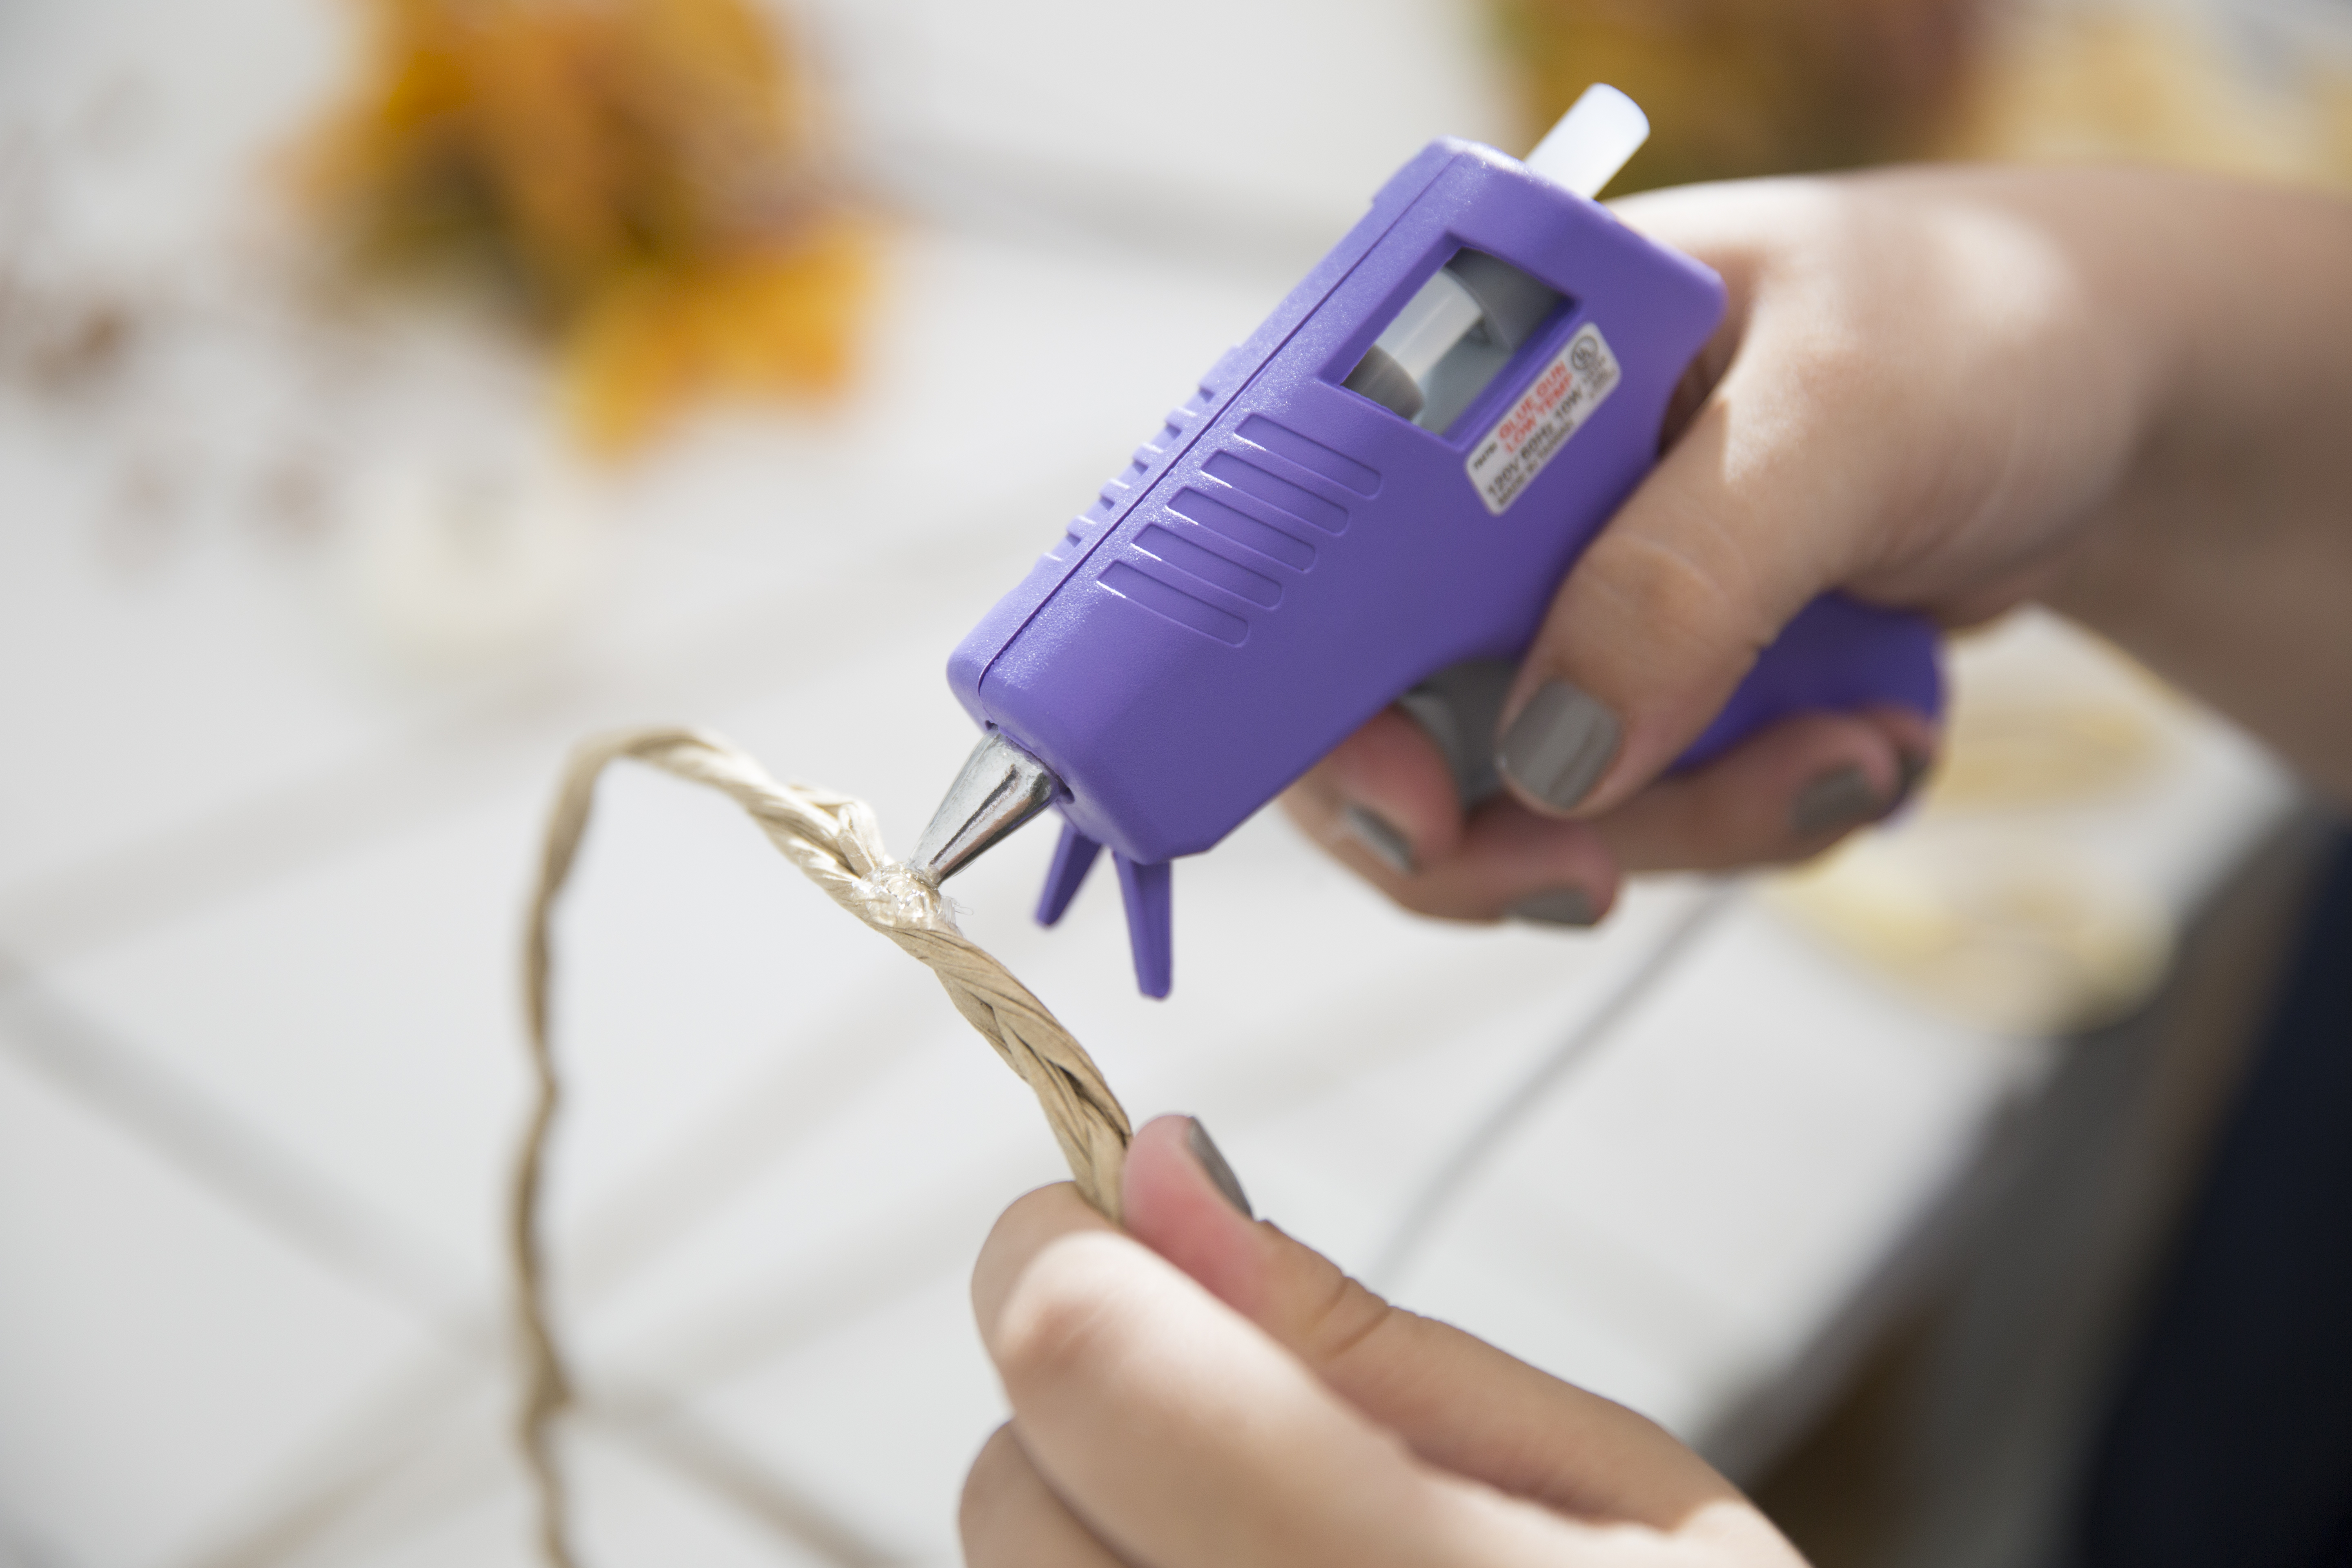
- Glue gun
- Scissors
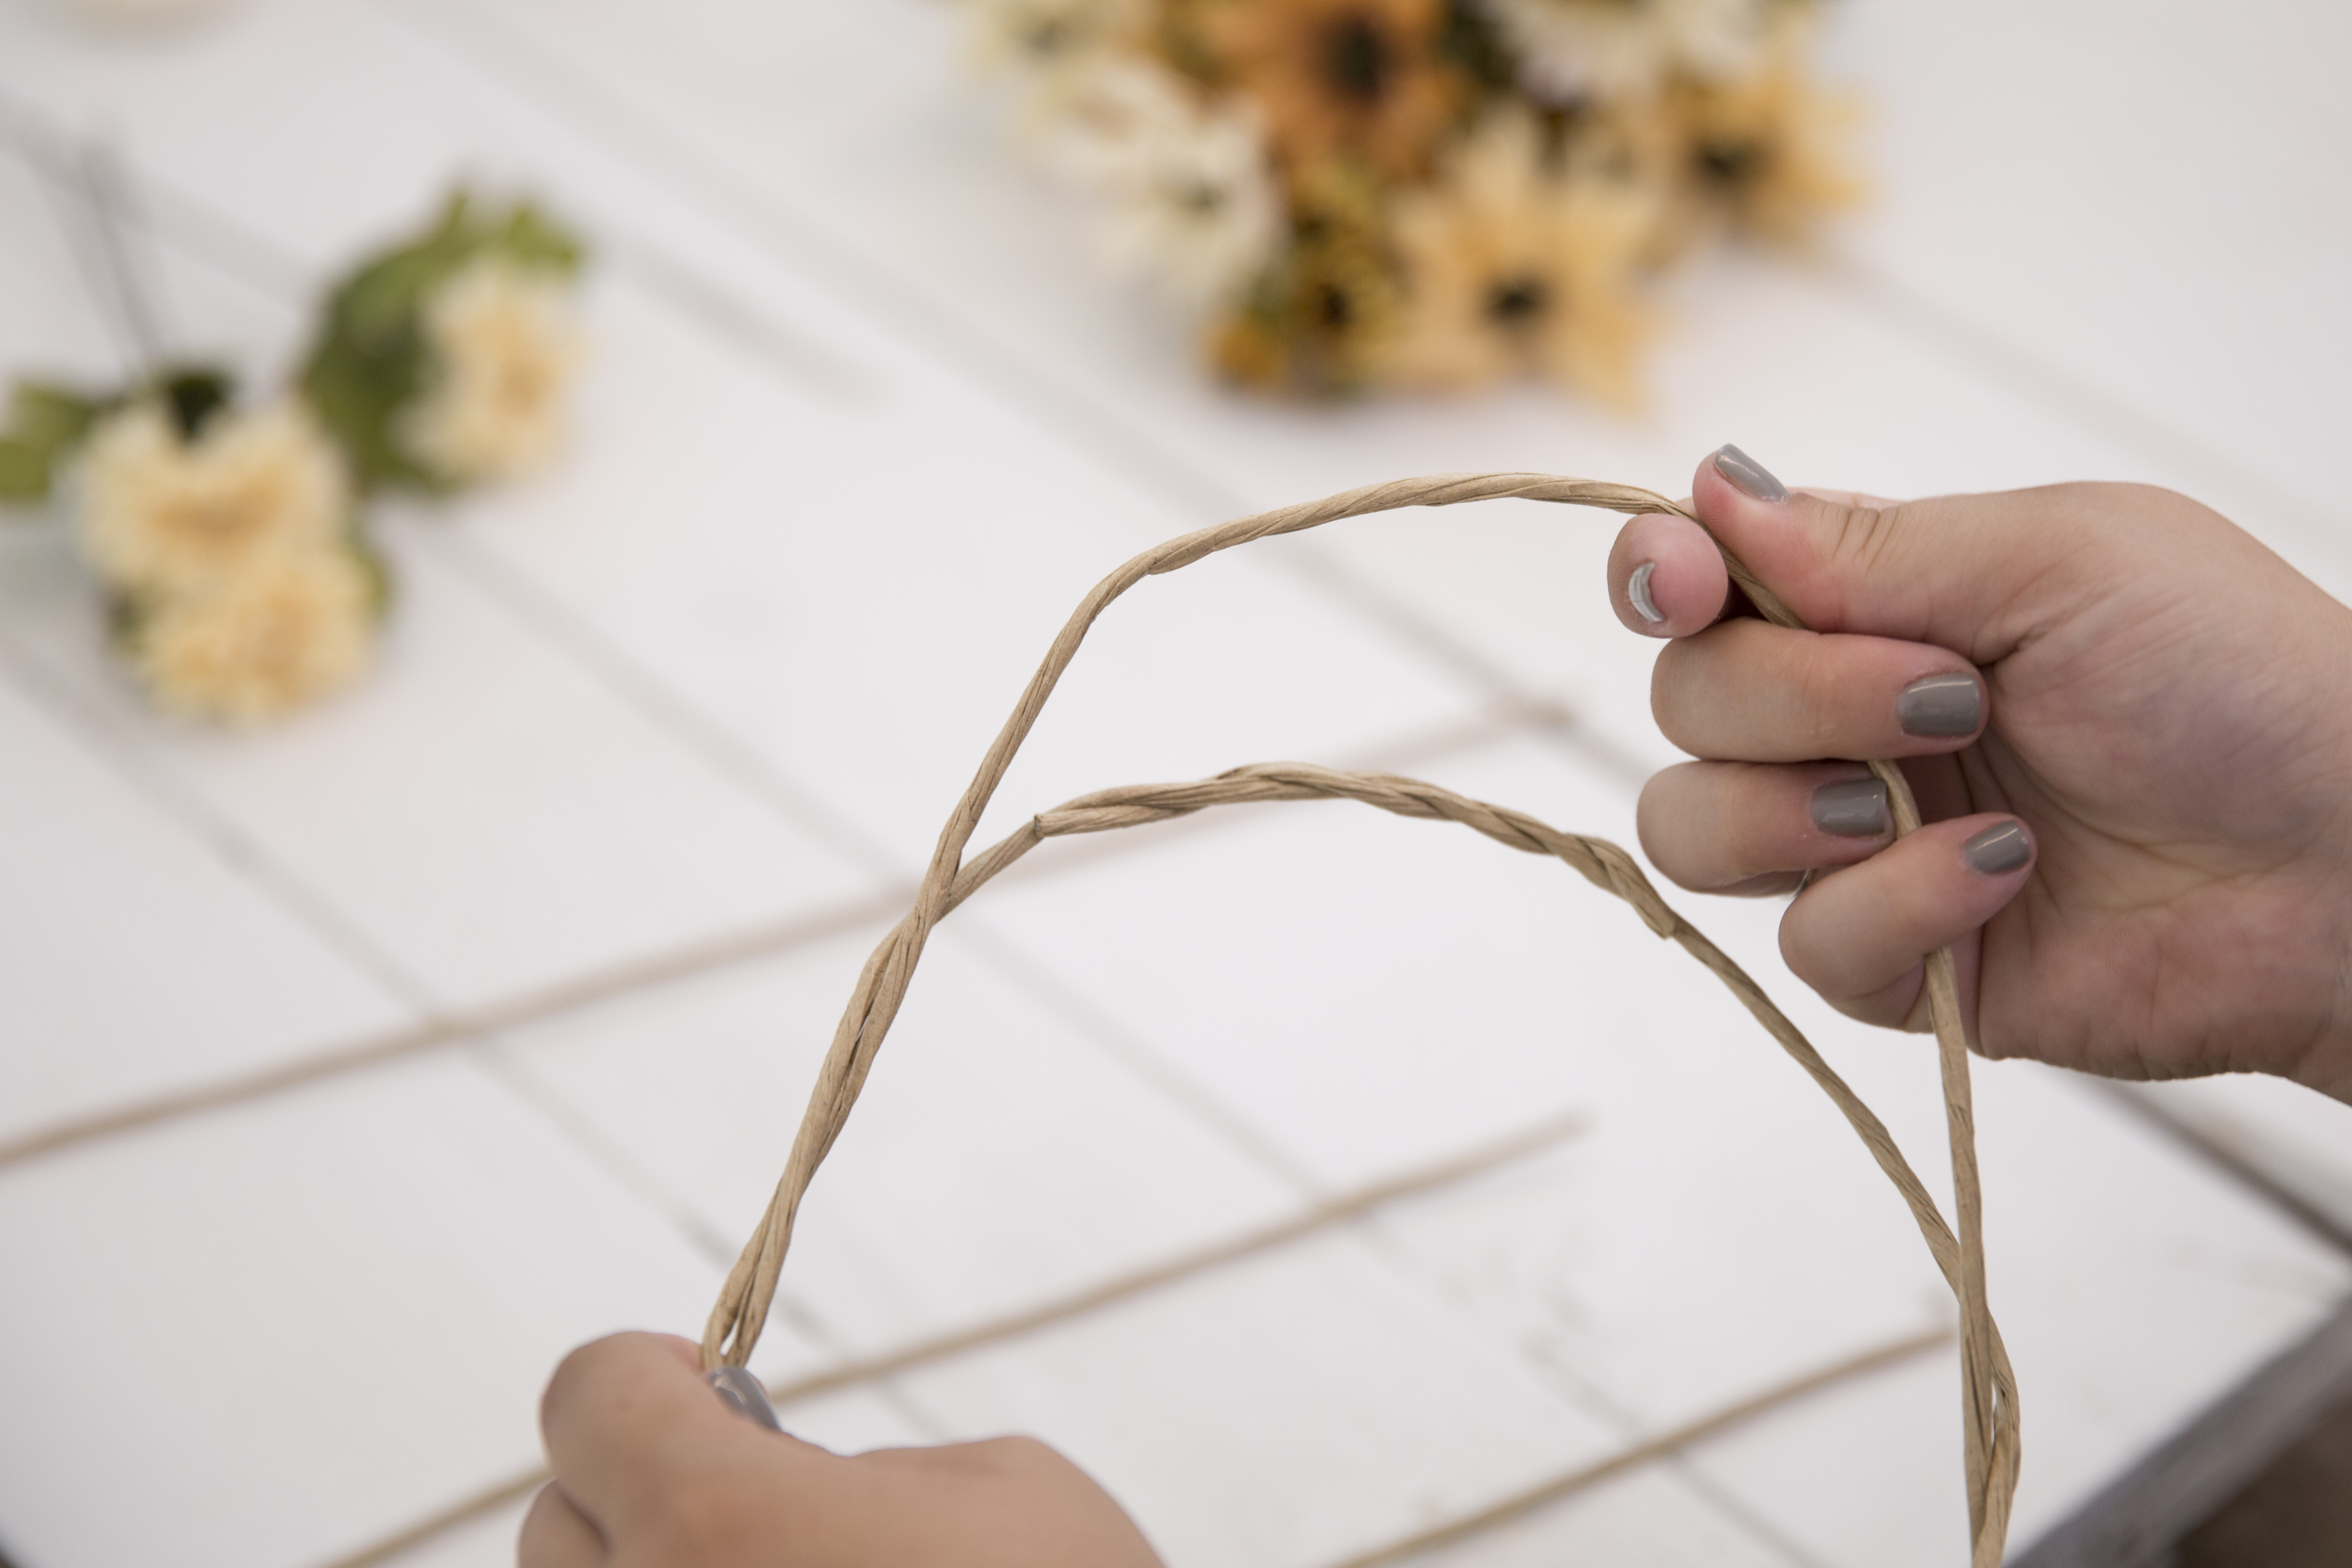
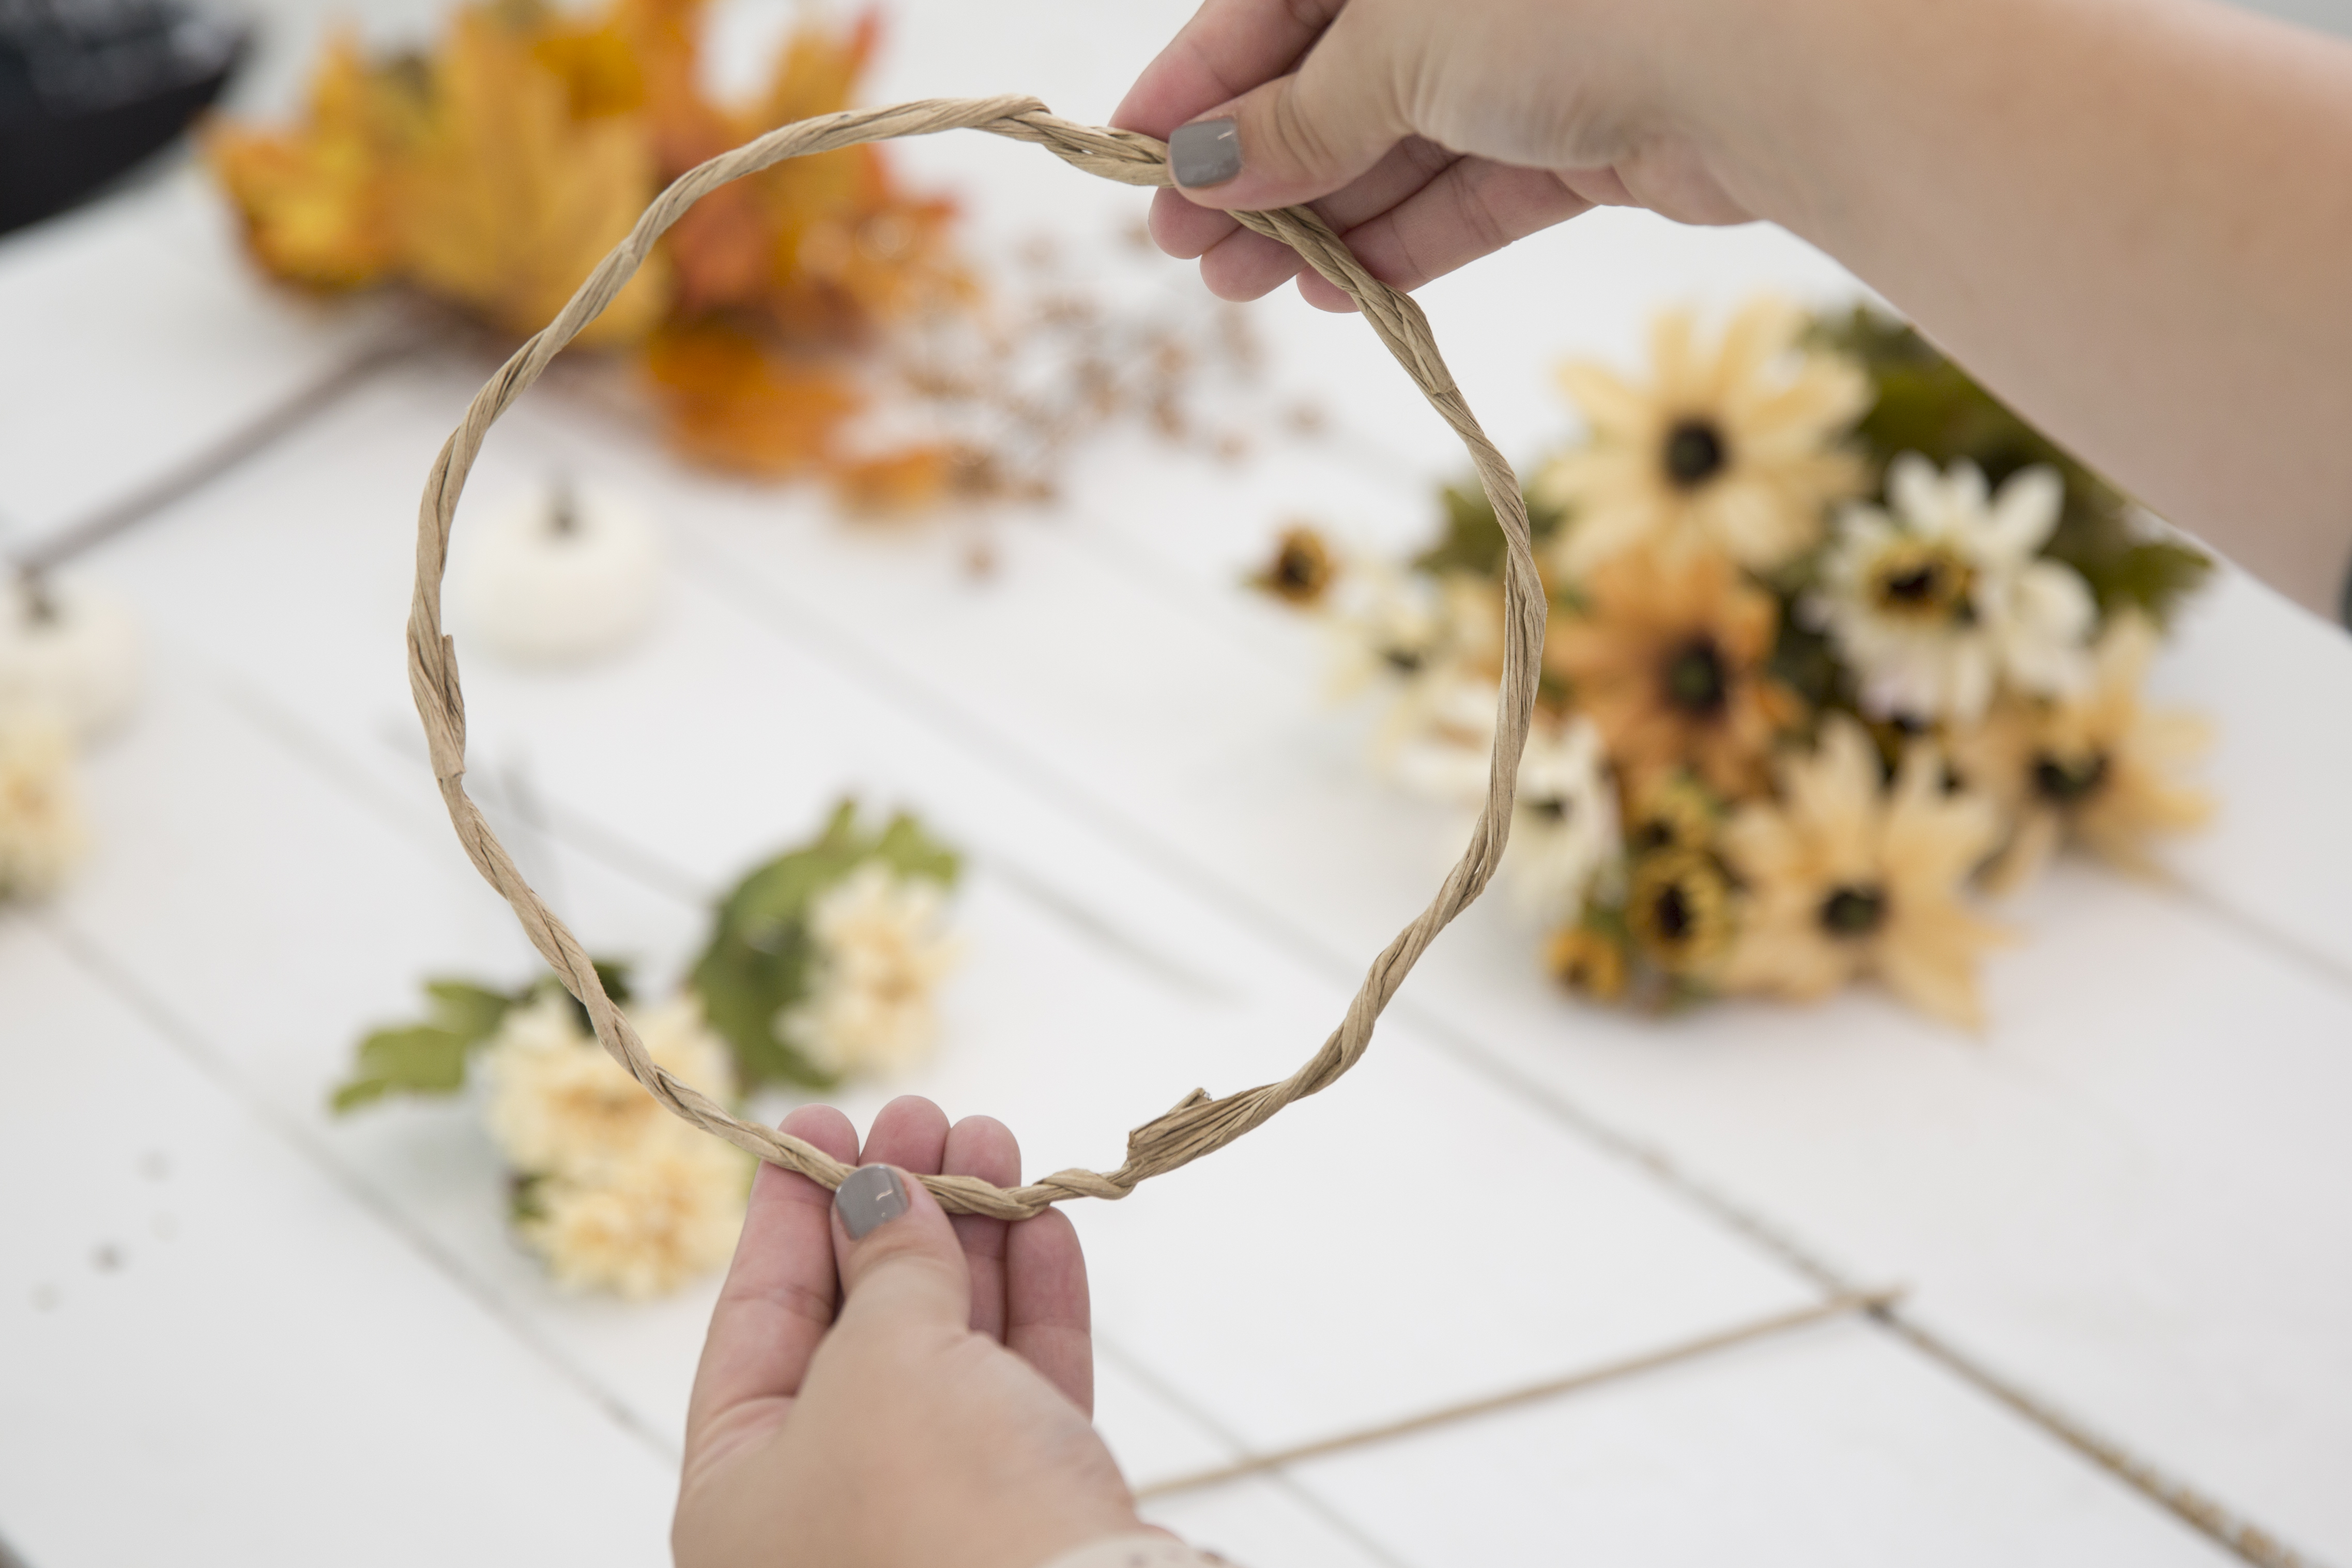
Step 2: The Base
Measure out how much wire you will need to fit around your head. Then twist the wire together to create a circle.
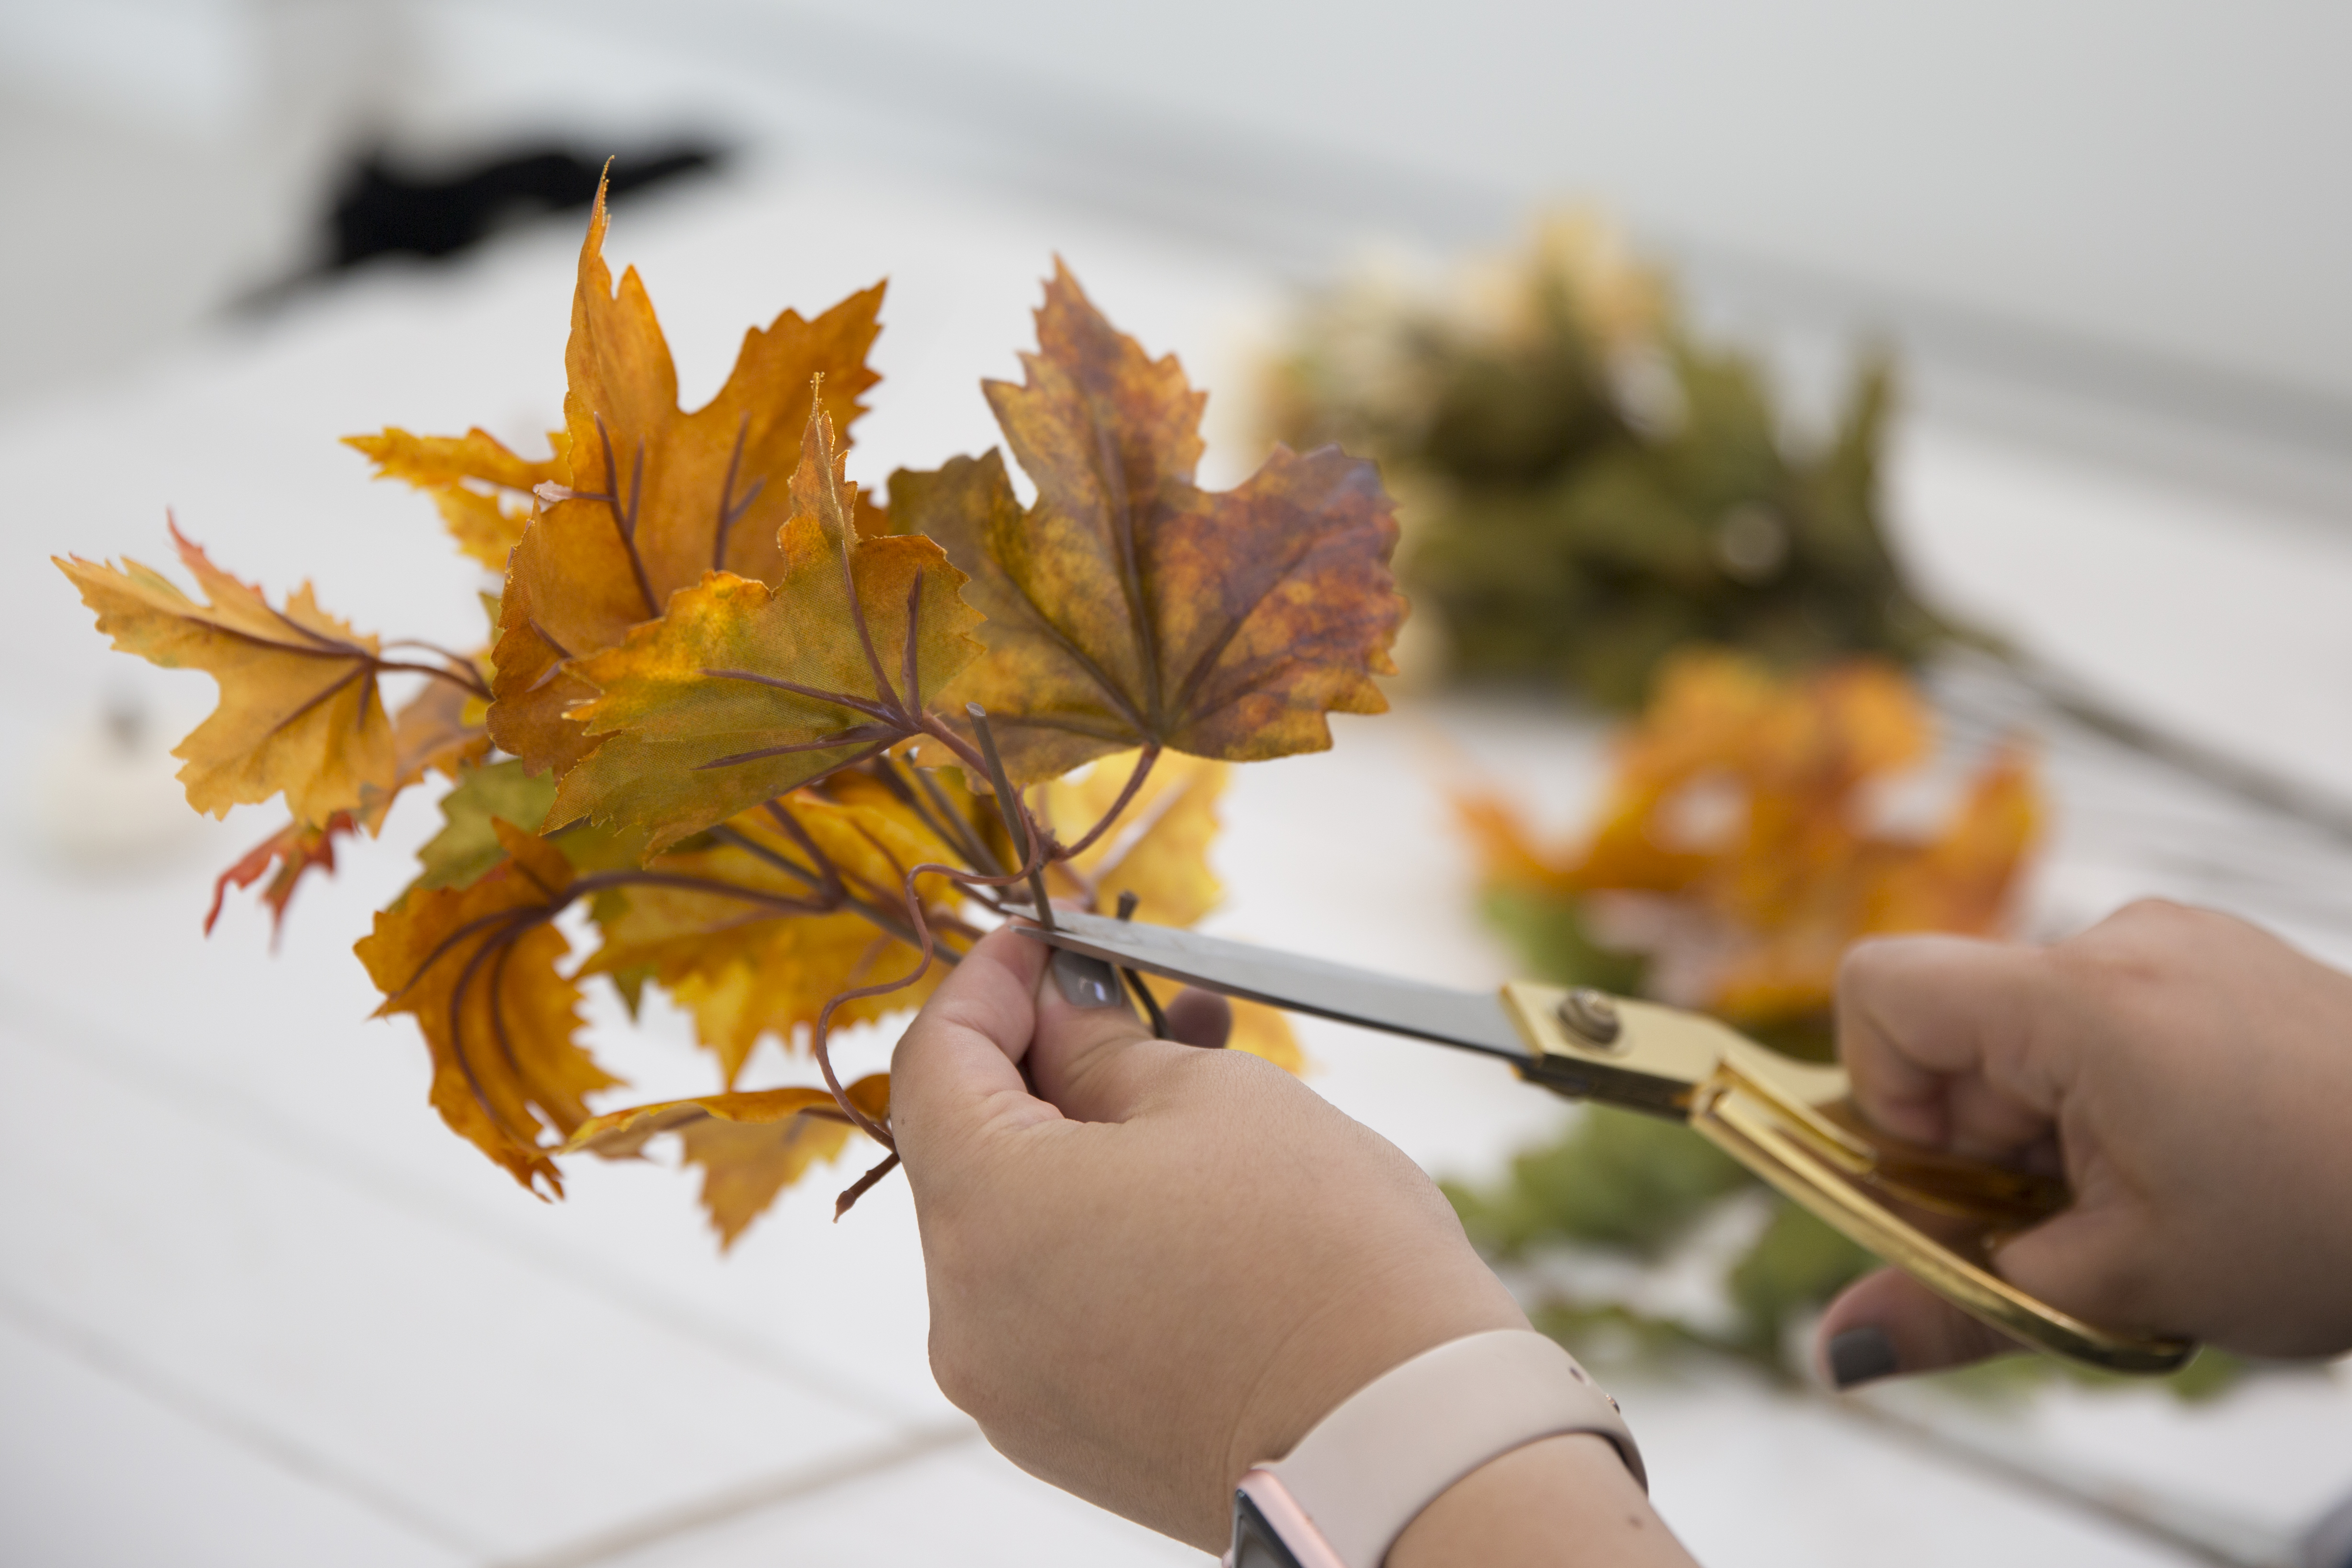
Step 3: The Final Cut
Use your scissors and cut the flowers and leaves.
Our Tip: Cut the flowers at the base of the stem. Glue application will be easier.
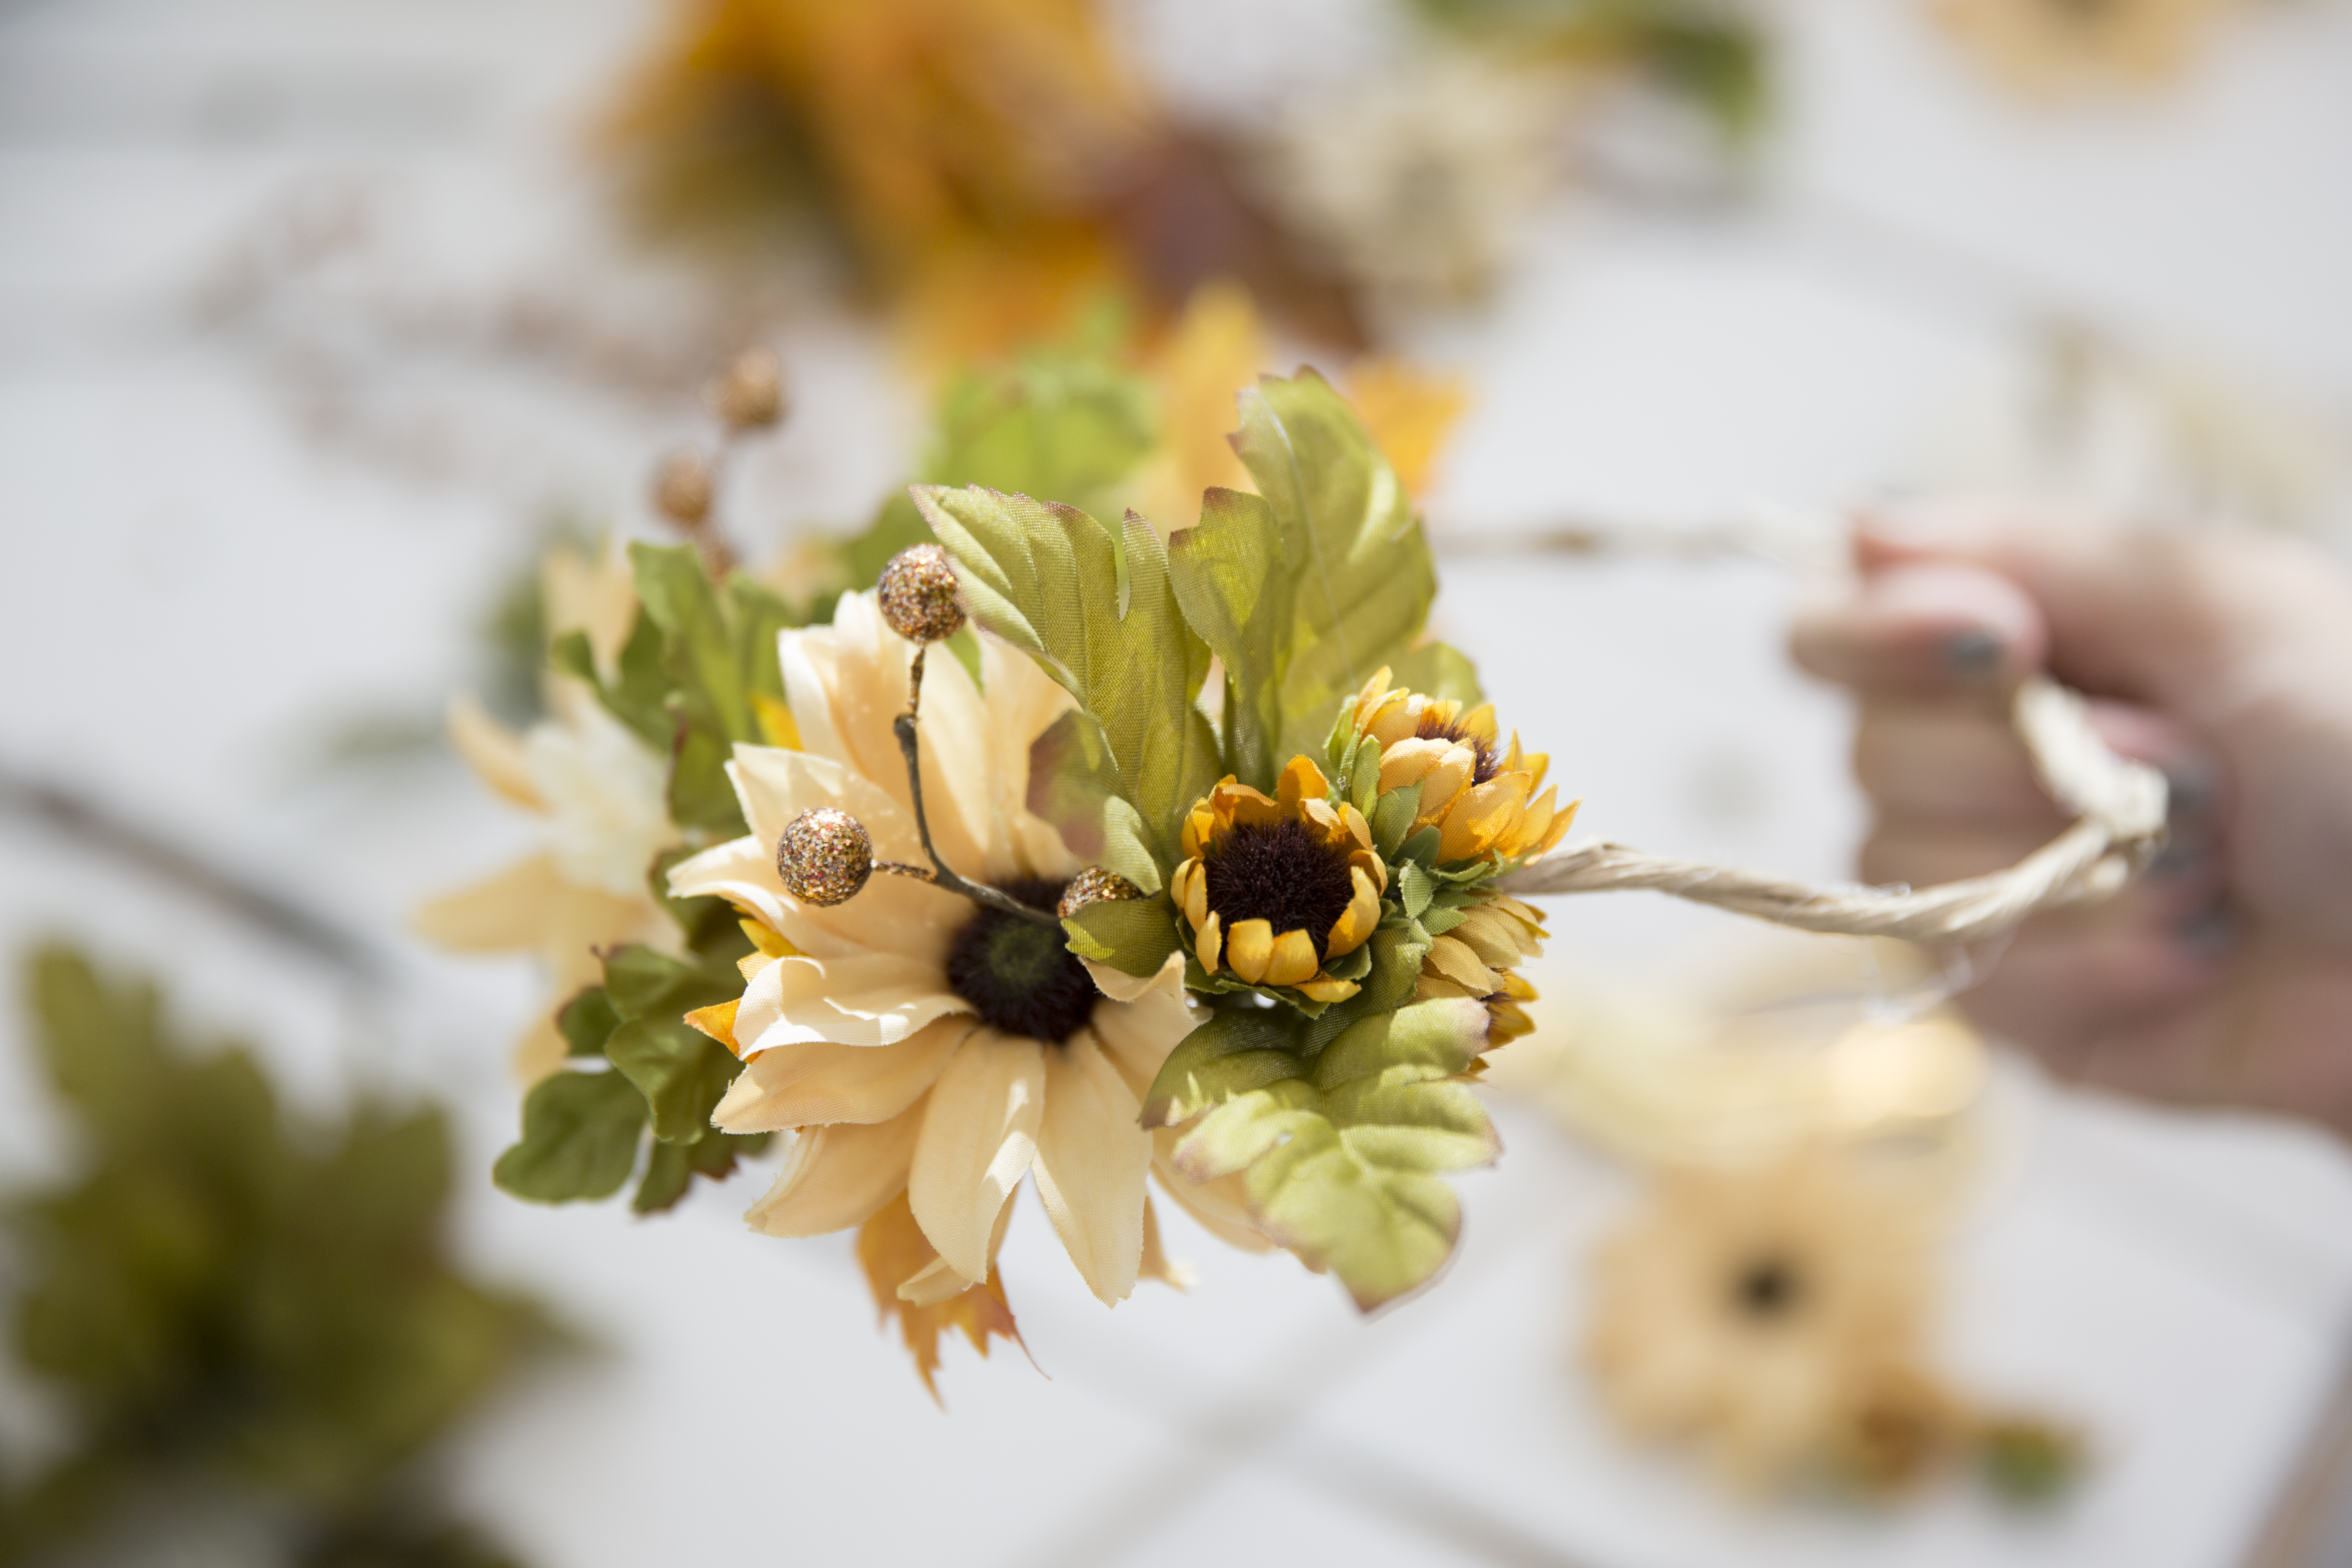
Step 4: The Fun Part!
After you have cut the decor, you can start gluing. Begin with a base. Start gluing flowers on and then work around them until you are satisfied with the outcome. Be creative, nothing has to be perfect!
Our Tip: Start with a statement! Create an extravagant starting point that with a large flower cluster to give your crown a uniqueness.
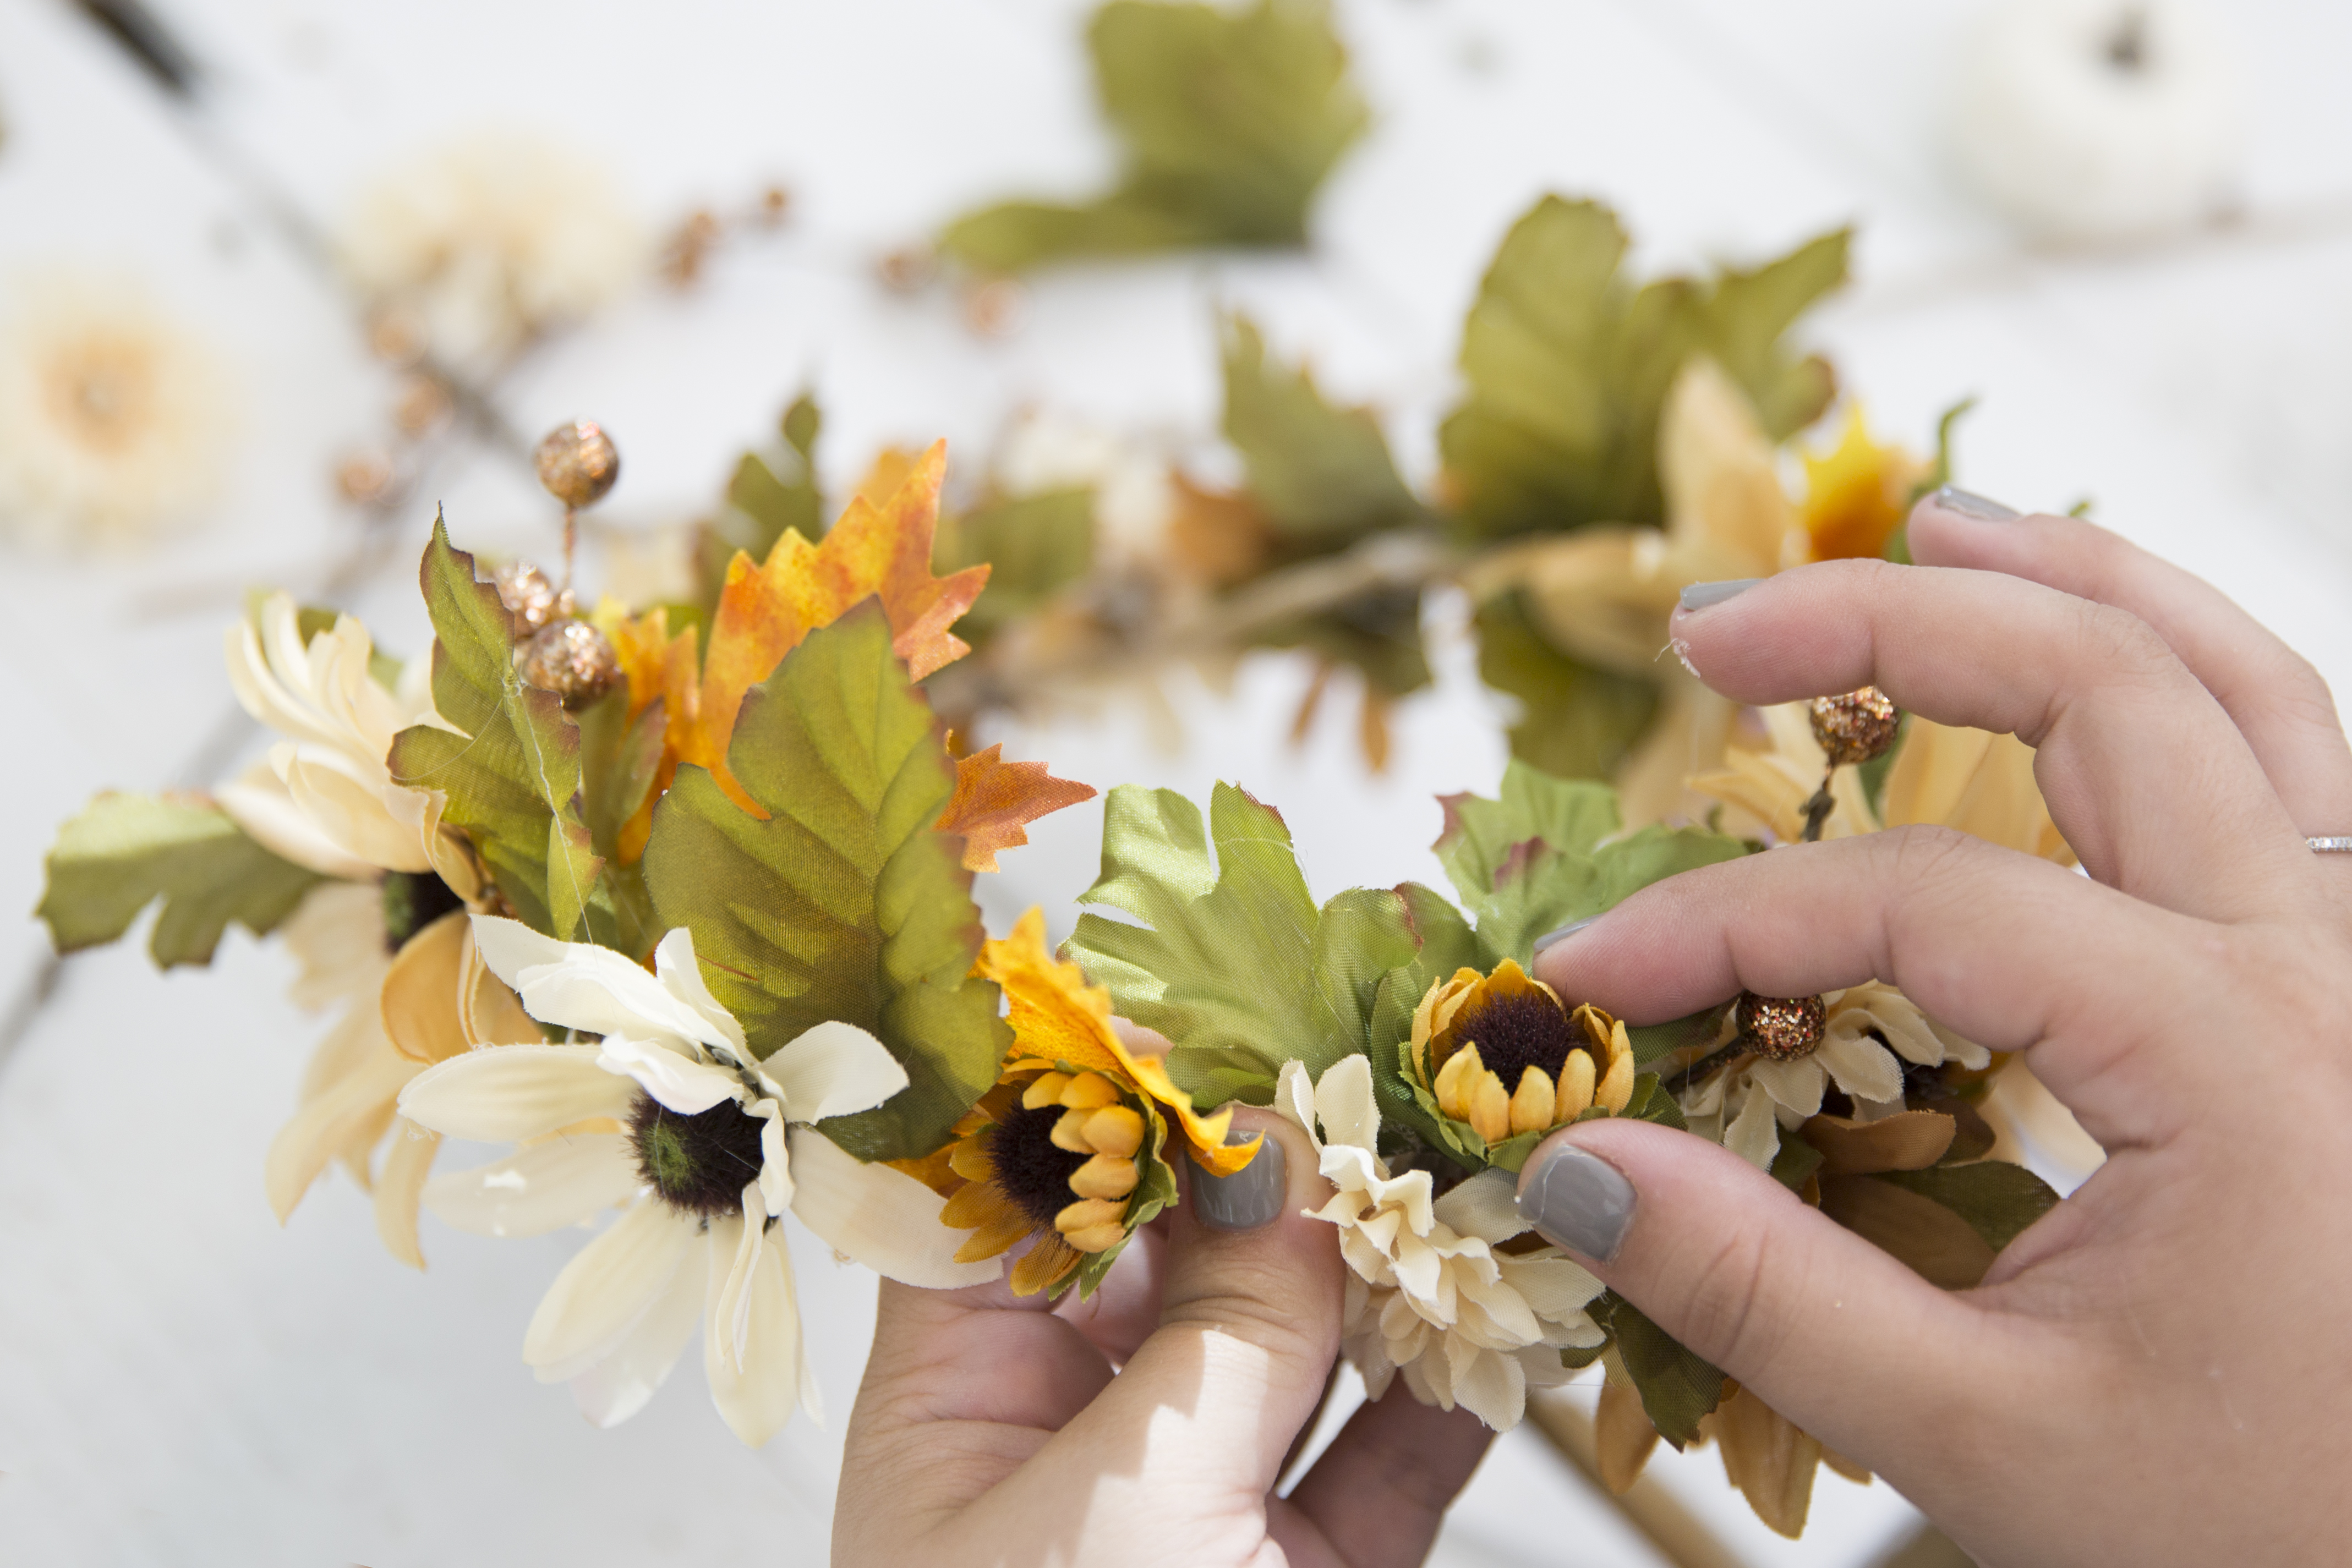
Final Step: Add the Finishing Touches
Once you are about done, take a look and fill in sparse areas. After that, you are ready to rock your crown!
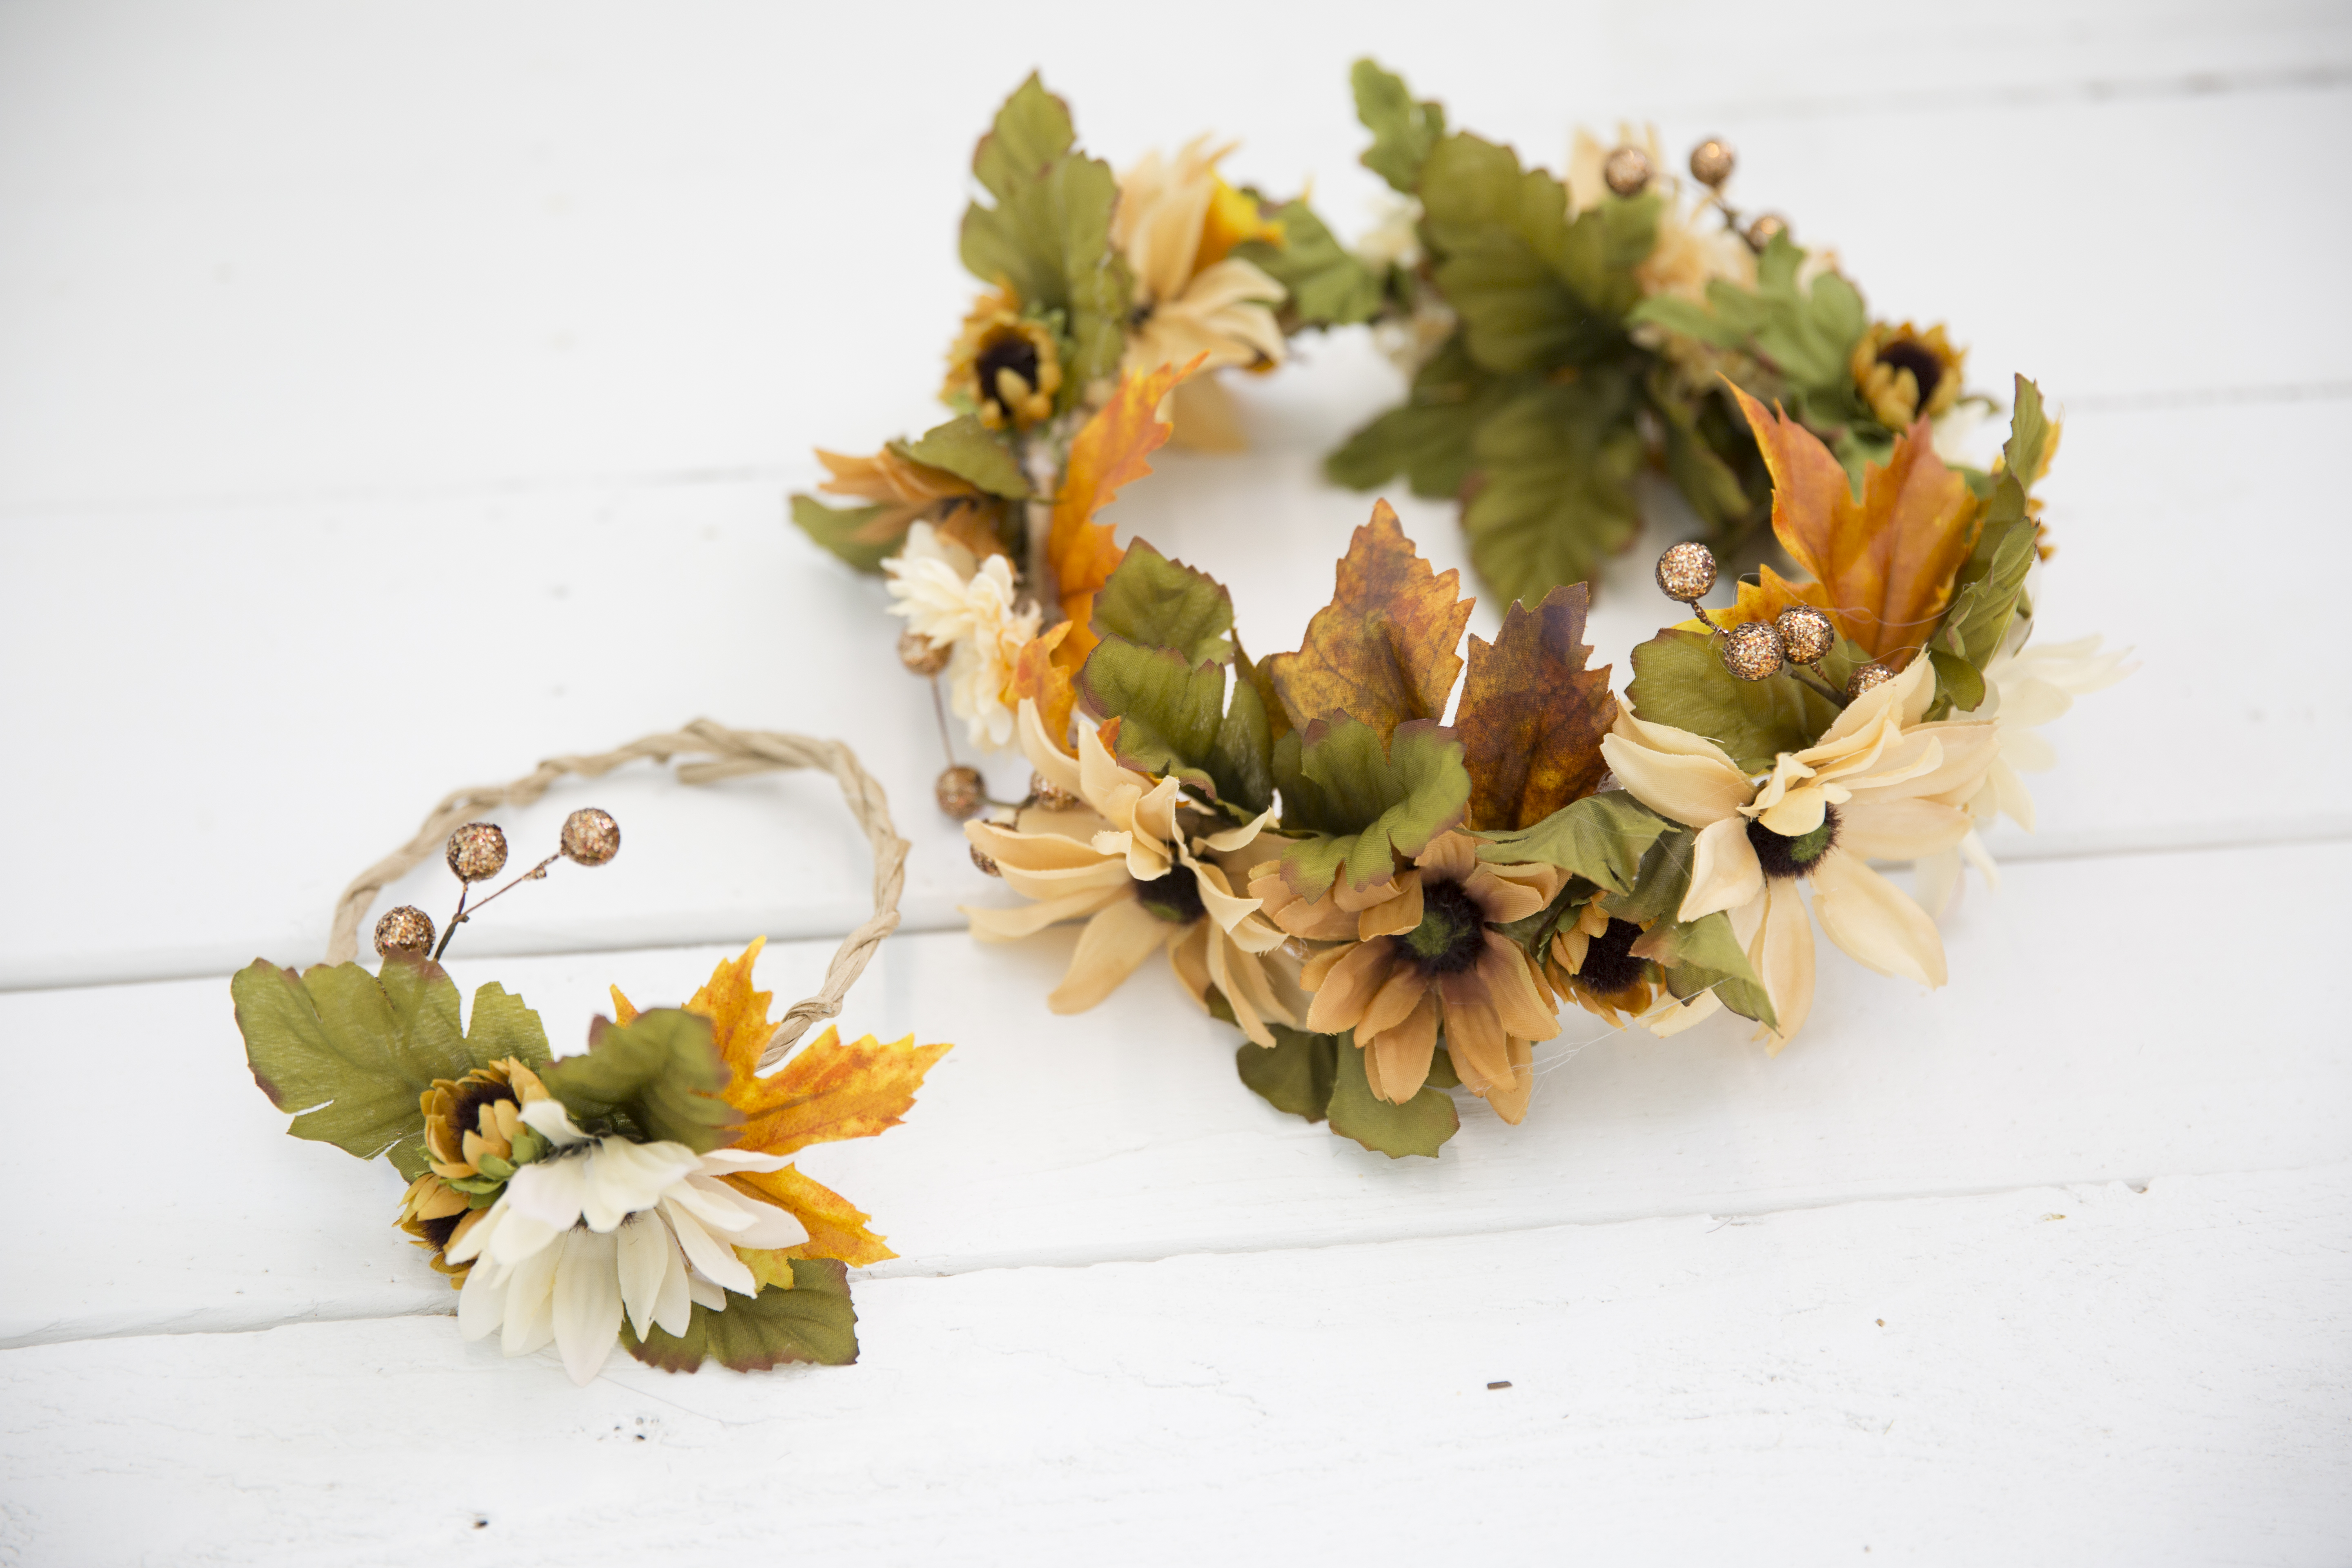
If you have extra supplies:
We had some extra supplies when we finished. So of course we had to make another! We made a matching crown for a little one! Same goes, just make hers a little smaller. There will be no cuter pair than you two in this super easy and cute flower crown!!